Recently, I managed to get my Record No. 4 plane up and running. Will do another post on that specifically. It took a while though. For a beginner, it was quite an interesting learning curve. Anyway, after the glue-up, I now had the boards for the front, back and two sides of my box laminated.
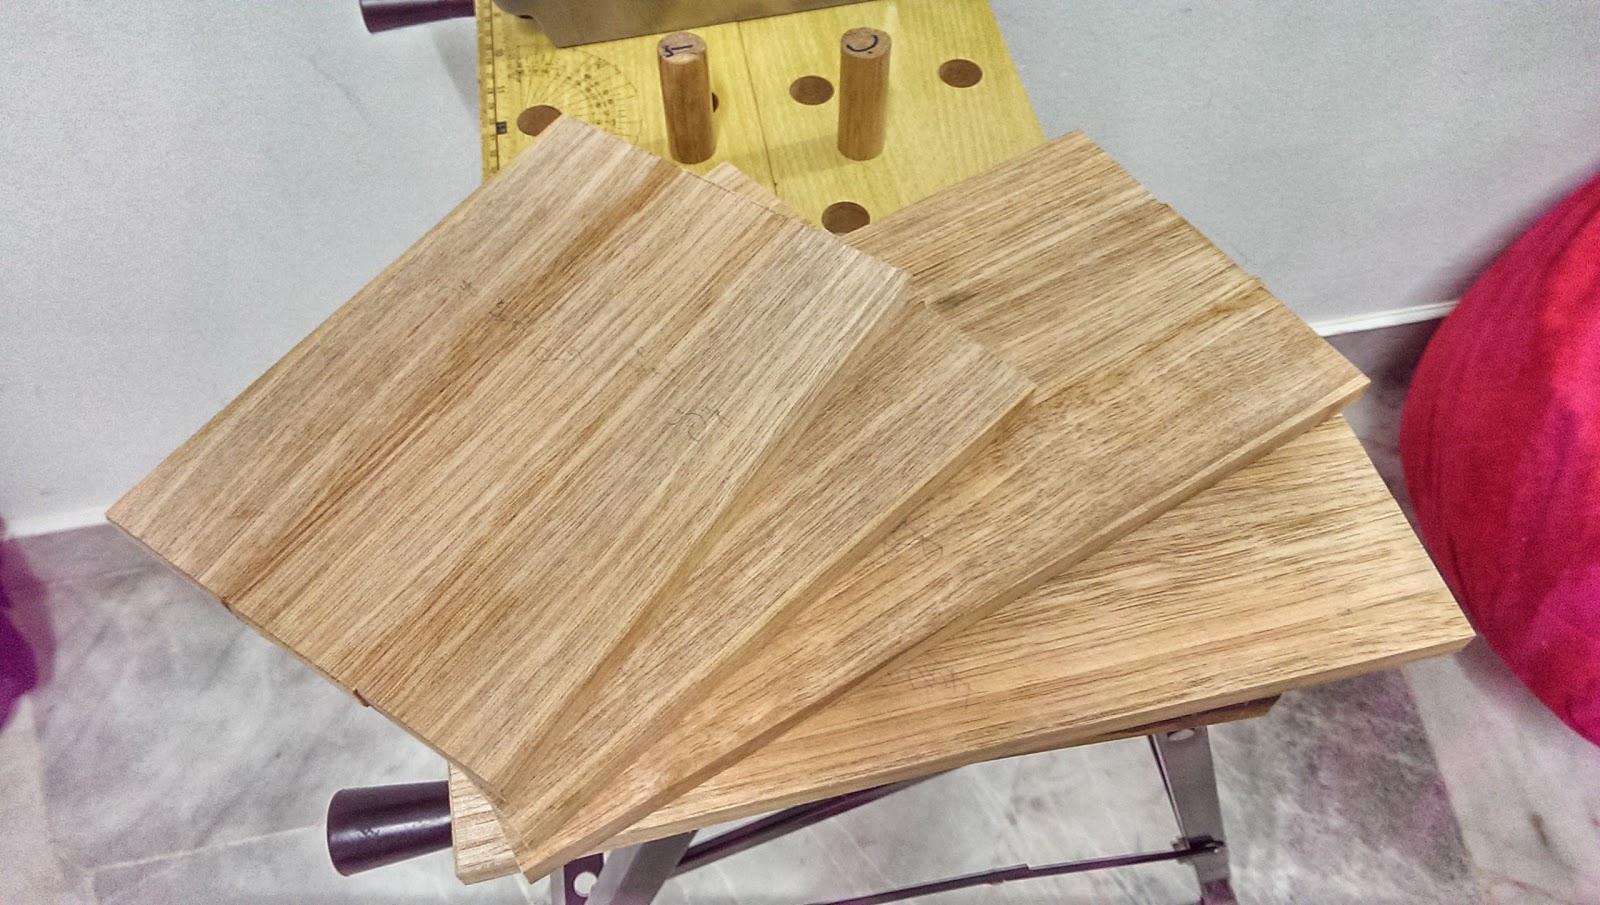 |
| The resultant laminated boards from the glue-up. |
Using a straight-edge, a combination square in my case, I checked the boards for cup, hollow and twist. The boards were found to be acceptable as were. The only thing which needed to be planed were the ridges left from the lamination process. The boards were put on my bench and held against a couple of bench-dogs which I made from a broomstick I rescued. I quickly found that my bench was not suitable for planing work. It was too light and had a tendency to topple over. I had to secure it against the wall before I could start planing work. Note to myself - You really really need a proper bench.
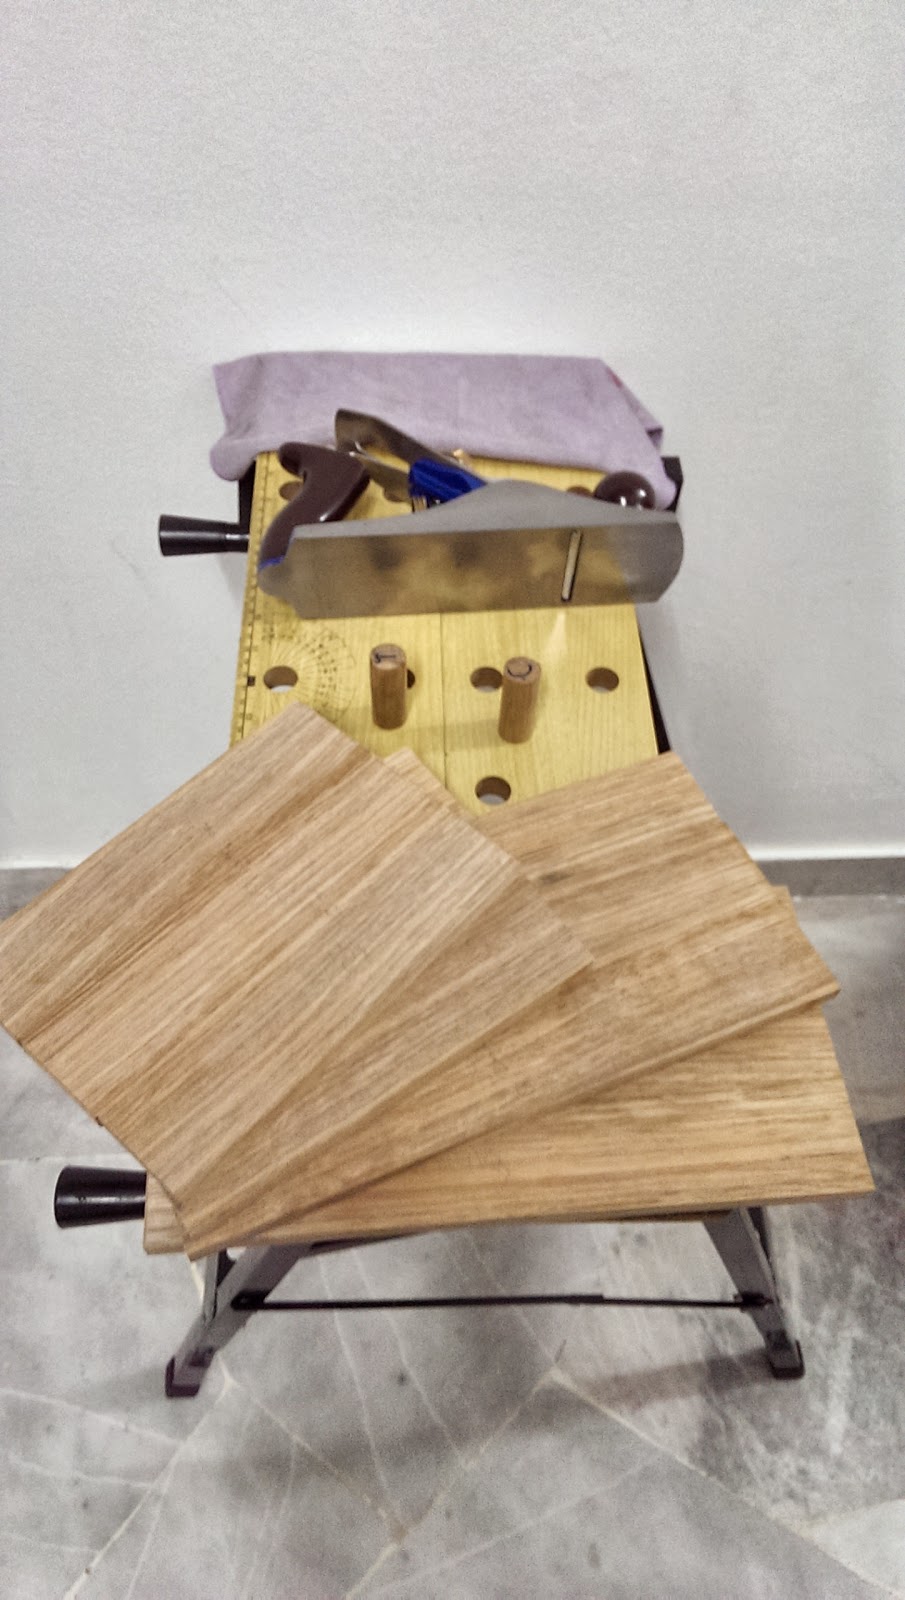 |
| The set-up before planing the boards. |
The picture above shows the set-up. Notice the purple rag at the far edge of the bench. That's to prevent marring the paint on the wall. Also notice the hand-made bench-dogs. The bench-dogs were cut from the broomstick which was sanded with 240-grit sand-paper to remove crud. The cut pieces were held, width-wise up, under the bench holes while I traced the outline of the hole. Using a sharp chisel and home-made bench hook, I then shaved the pieces down to the traced line while intermittently checking for a snug fit. My apologies for the deviation off-topic but thought it may be worth the trip.
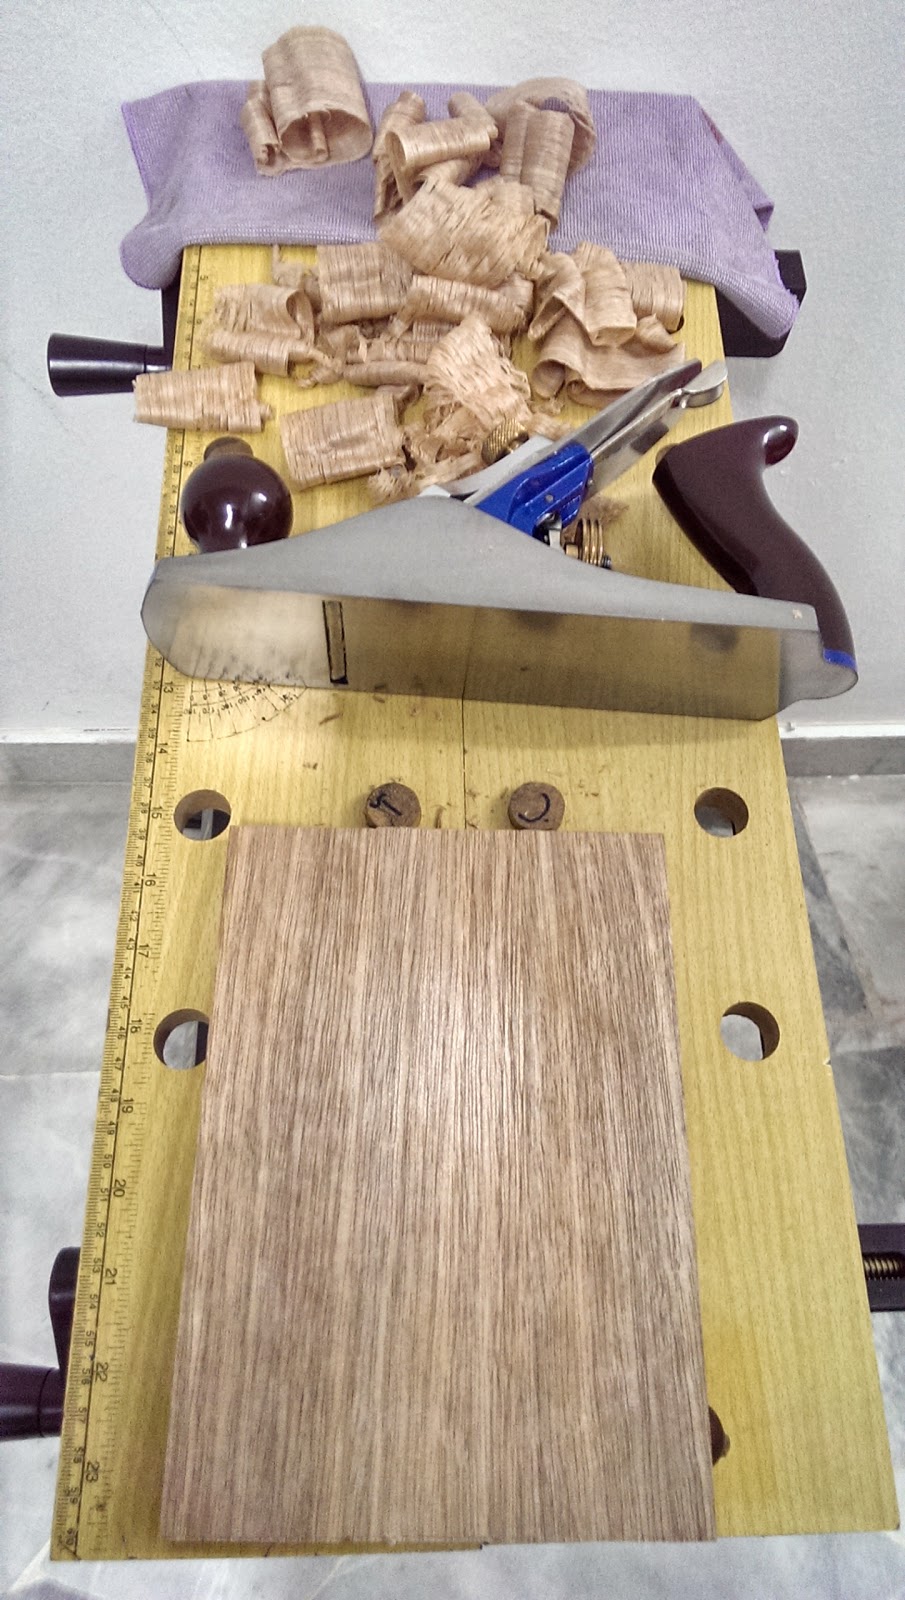 |
| Bench supported against wall. |
Once the board and the bench were securely positioned, I started taking full-width shavings across the face of the board, along the grain, moving from right to left. This required considerable effort until I eventually retracted the iron a little. I realized then that I was taking way too much off hence the effort required in moving the plane.
It took a little tweaking to get the proper sized shavings. I was aiming for full-width translucent shavings which I could see through. This was supposed to be the ideal shavings expected for a final finish using a smoothing plane. This tweaking I would agree is best done on a test instead of your work piece.
When I ran my fingers across the face of the board, I felt tiny ridges along the length of the board. These were left over when I failed to slightly overlap the plane swipes. Upon rectification, I was amazed at how well the plane cut and the finish it left behind. It was super smooth to the touch and the surface glistened under the room light.
This was only true for the first two boards. The following boards however didn't finish as smooth as I could feel gritty dust-like particles on the boards. There was a mention about Nyatoh timber and high silica content as I recall from a previous post. I finally concluded that the iron must have blunted somewhat but the finish was nonetheless acceptable i.e. shiny smooth. I would like to hear if someone had a similar experience and/or an alternate explanation.
In conclusion, this was an excellent exercise. Lots and lots of learning and loads of experience points earned especially in using hand-planes. To top that off, so much FUN! Truthfully, I am a whole less afraid of planing now and have discovered it to be an invaluable tool in woodworking. Dare I say, it was quite pleasurable too.
Off to cutting joinery now.
No comments:
Post a Comment